Autopsy - Tutorial
This post consists of an article "Autopsy - Tutorial for N00bs"
Autopsy: Tutorial for N00bs
What is Autopsy?

Autopsy® is a digital forensics platform and graphical interface to The Sleuth Kit® and other digital forensics tools. It is used by law enforcement, military, and corporate examiners to investigate what happened on a computer. You can even use it to recover photos from your camera’s memory card. It is an easy to use, GUI-based program that allows you to efficiently analyze hard drives and smart phones.
Autopsy provides features like searching, cataloguing, file recovery and many tools. It also supports multiple file types like NFTS, FAT, ExT2, ExT3, ExT4 etc.,
How to use Autopsy?
Note: At the time of writing this post, the current version of Autopsy is ver 2.24, so there might be few changes if what you are using is a different version
We will be working on a challenge named “Dear Diary” from picoCTF to work with Autopsy.
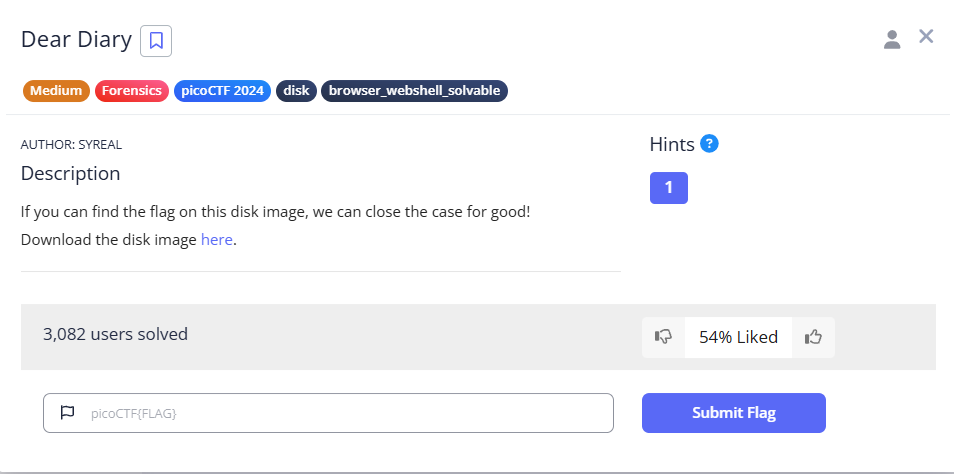
So we are given a file named disk.flag.img.gz, from the file name we can understand the following:
- gz : It says that the whole file is compressed using Gzip.
- img : It says that the file is disk image. A disk image is a byte-for-byte copy of a storage medium like hard disk, USB drive or partition.
- flag : It suggests that the file contains a flag, just for information
- disk : It is the base name of the file.
So before working with the disk image we have to decompress it, we can decompress gzip compressed files using the below commands:
1
2
3
4
5
gunzip disk.flag.img.gz

#OR

gzip -d disk.flag.img.gz
After decompressing the file using one of the above commands, we will get an file named disk.flag.img, let;s check what type of file it is using file command.
1
file disk.flag.img
it will return:
1
disk.flag.img: DOS/MBR boot sector; partition 1 : ID=0x83, active, start-CHS (0x0,32,33), end-CHS (0x26,94,56), startsector 2048, 614400 sectors; partition 2 : ID=0x82, start-CHS (0x26,94,57), end-CHS (0x47,1,58), startsector 616448, 524288 sectors; partition 3 : ID=0x83, start-CHS (0x47,1,59), end-CHS (0x82,138,8), startsector 1140736, 956416 sectors
From the output we can understand the following:
The disk image uses an MBR (Master Boot Record) partitioning scheme (common in legacy BIOS systems). This means the first 512 bytes of the image contain a bootloader and a partition table. There are three partitions: partition 1, partition 2 and partition 3. Here the analysis of partition 1:
- ID = 0x83, this is a Linux filesystem (typically ext2/ext3/ext4).
- Active, this partition is bootable.
- startsector = 2048, it starts at sector 2048.
- 614400 sectors, is the total size of the partition = 614400 × 512 bytes = 314,572,800 bytes (~ 300 MB).
- start-CHS / end-CHS, is Cylinder-Head-Sector addressing (used by older BIOS systems).
Here the analysis of partition 2:
- ID = 0x82, this is a Linux swap partition.
- startsector = 616448
- 524288 sectors (~ 256 MB)
Here the analysis of partition 3:
- ID = 0x83, means this is another Linux filesystem.
- startsector = 1140736
- 956416 sectors (~ 468 MB)
This challenge can be solved using two methods, one is using Autopsy and the other requires us to manually mount the partitions.
We are going to use Autopsy for two reasons:
One, Autopsy will automatically detect the partitions, it can parse ext2/ext3/ext4, FAT, NTFS, and even swap partitions. No need to manually mount partitions or use losetup and has more functionalities. Two, This article is for learning Autopsy, so ofcourse we won’t be following some other method rather than using Autopsy. To open/run Autopsy, you can download it and use the below command to run it. In Kali Linux, Autopsy already exists so it can be used directly.
1
autopsy
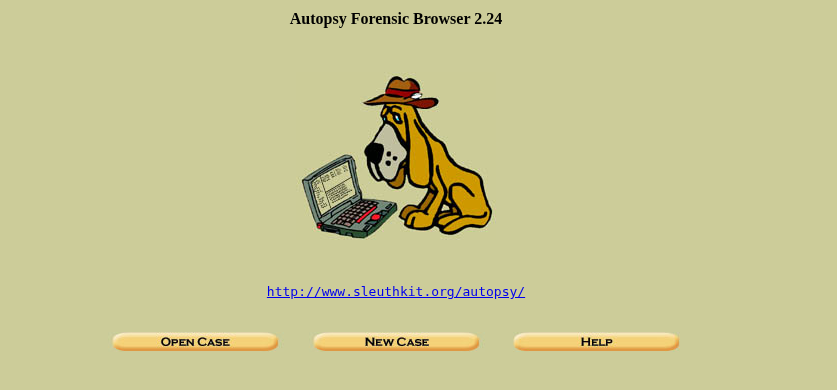
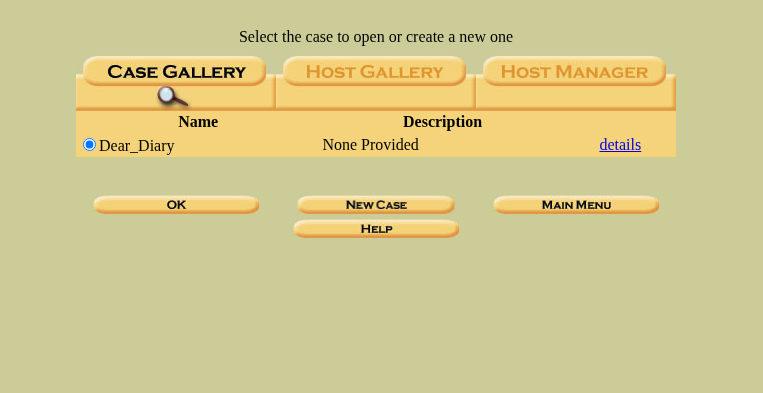
After running it, it will start the process and provide you a link like this http://localhost:9999/autopsy. After visiting this is the interface:
As we are dealing with a brand new disk image, we will be creating a “New Case”. After clicking on “New Case” this will be shown:
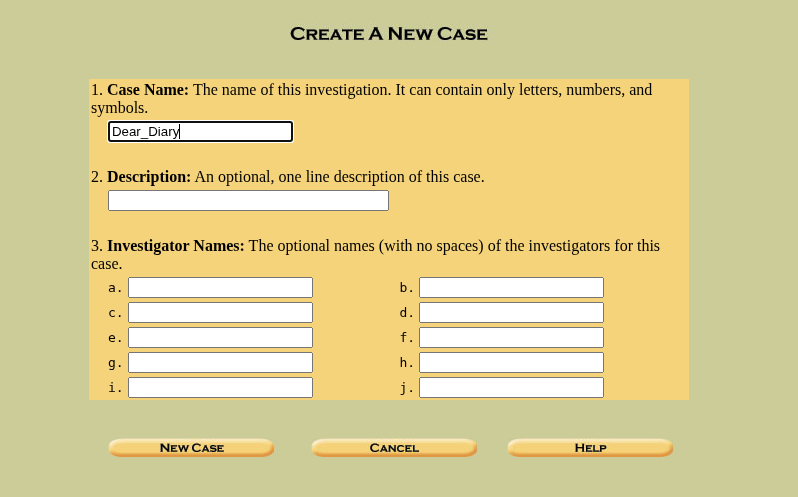
In the given inputs only the “Case Name” is required and others are optional, it is up to the user the give them values or not. After filling the required inputs click on “New Case”.
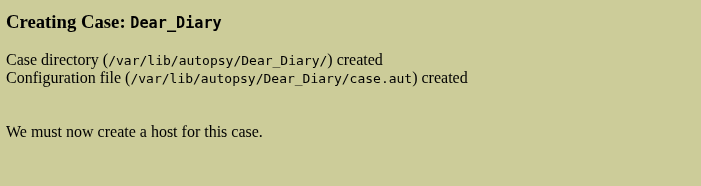
Now after refreshing the page, you will be show this:
Now click on “OK”, this will show the below page:
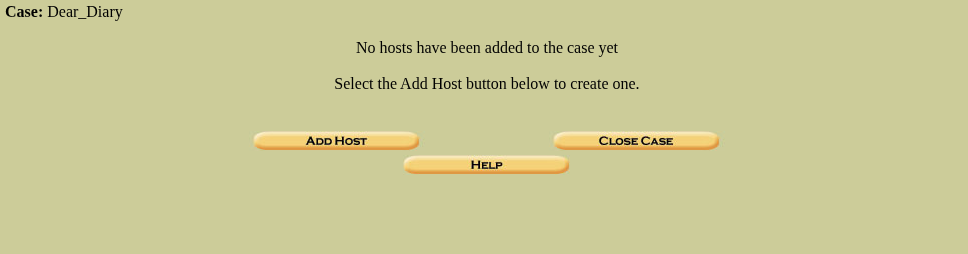
As there aren’t any Host in my Autopsy yet, let’s add one by clicking on “Add Host” this will present the below image:
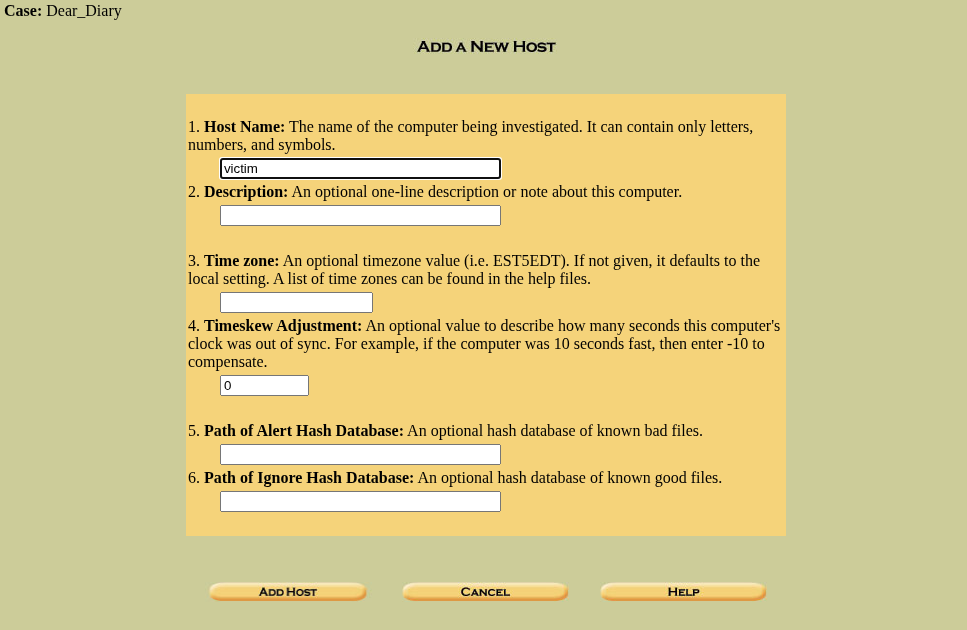
Now enter the “Host Name”, as it is the only field that is mandatory and others are optional, then click “Add Host”
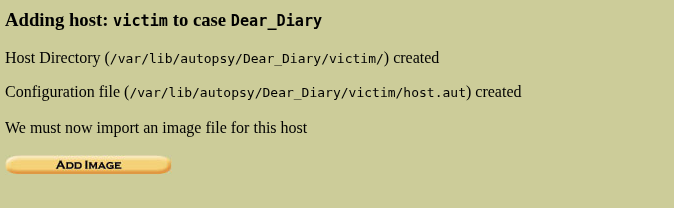
This will successfully add a host to the case, now using the host we will be analyzing the partitions. So after creating a host a new page will appear asking to “Add Image”, so we will be giving it the disk.flag.img file.
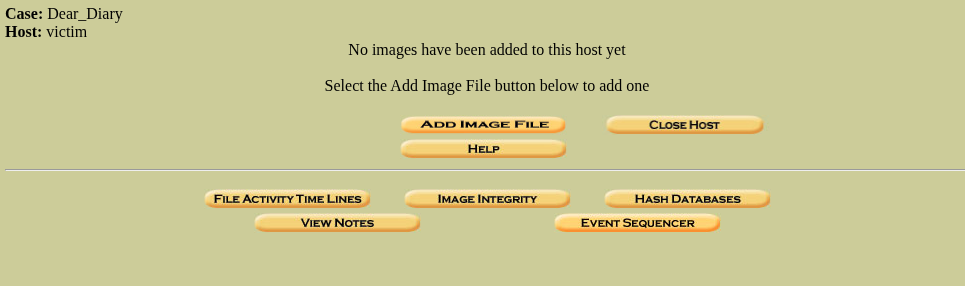
After clicking on “Add Image”, click on “Add Image File” as what we are given a disk image file.
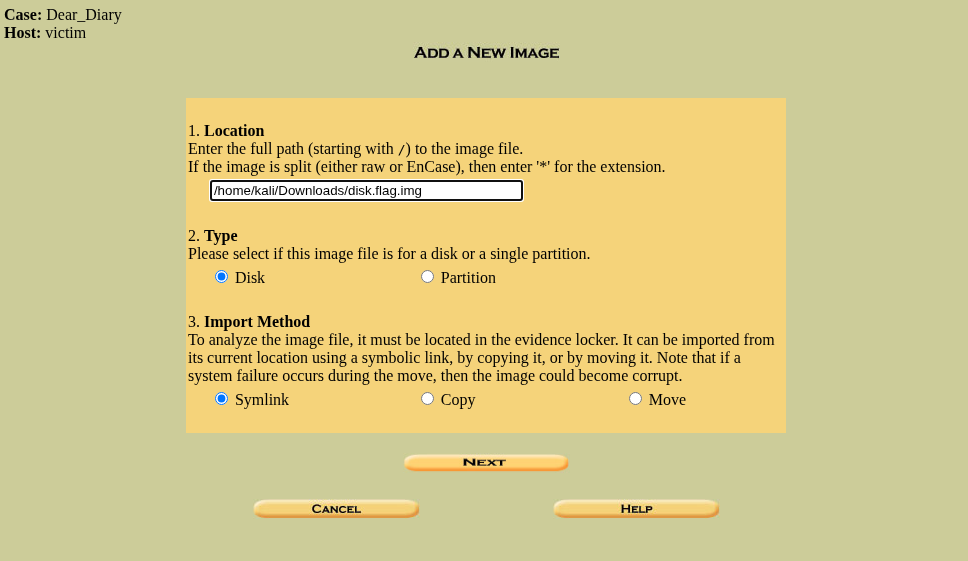
This will ask for the image location, for me the image is in /home/kali/Downloads directory and the file name is disk.flag.img. So I gave the input “/home/kali/Downloads/disk.flag.img” . If you to enter your location, using pwd in your terminal while you are present in the folder with the image and add “_/
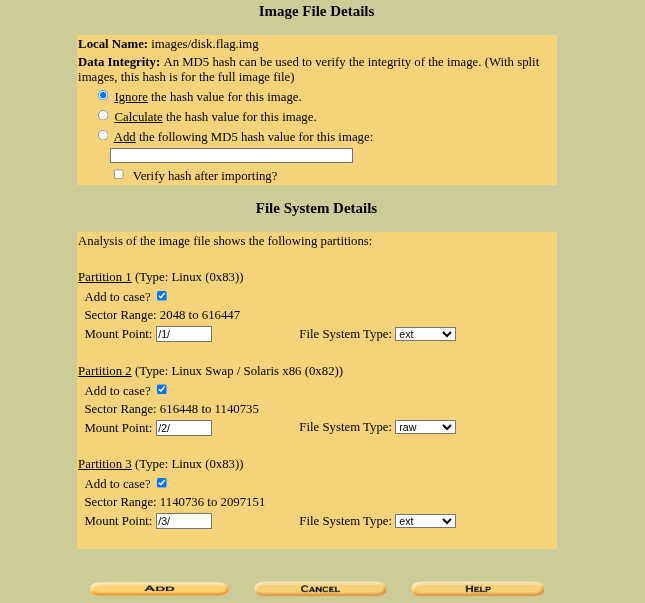
In the first section, you can use “Ignore the hash value for this image” as we got not business with it. In the section, you can see that the Autopsy has detected three partitions of the image file successfully, now click on “Add” to get started.
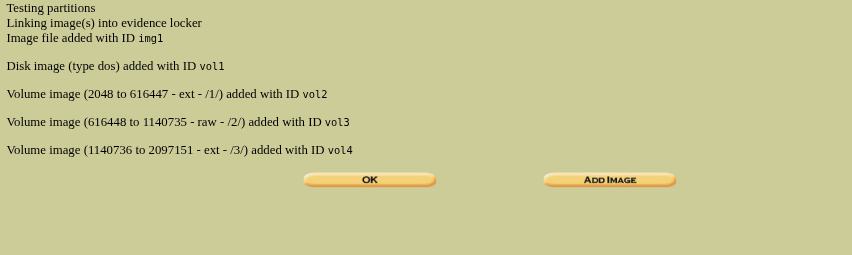
This will successfully add the image partitions which makes them ready to analyze, now click on “OK” to move to the next step.
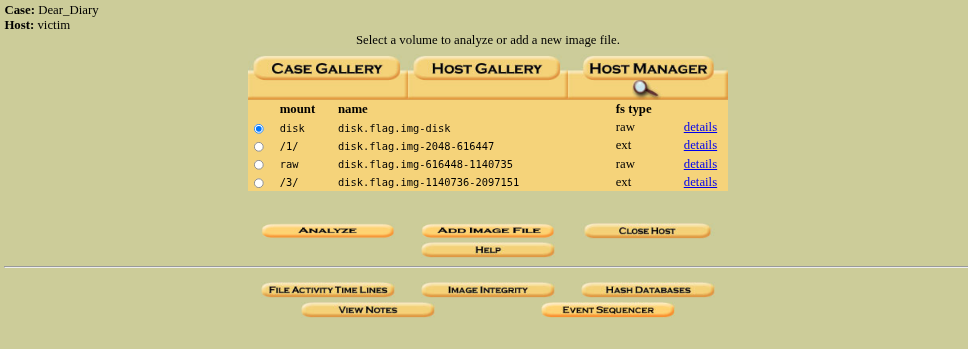
Now we are ready to anlayze, let’s start analysing from the top which is disk.flag.img.disk.
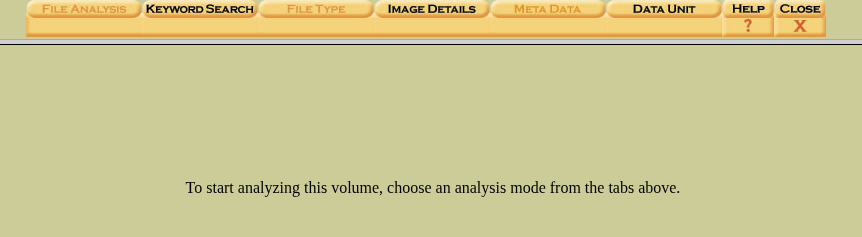
After clicking on “Analyze”, we will be presented with this, now lets using the keyword search function and search for different keywords that might help.
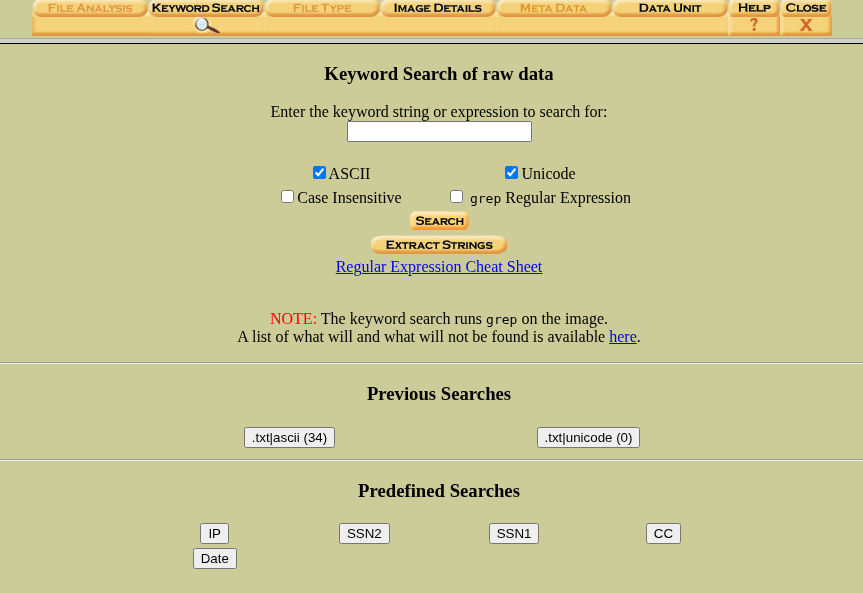
You can search for whatever you want (you need to wait some time as searching the image takes some time), after searching for a bit I found something useful when searched for “.txt”, the output can be seen in the below image:
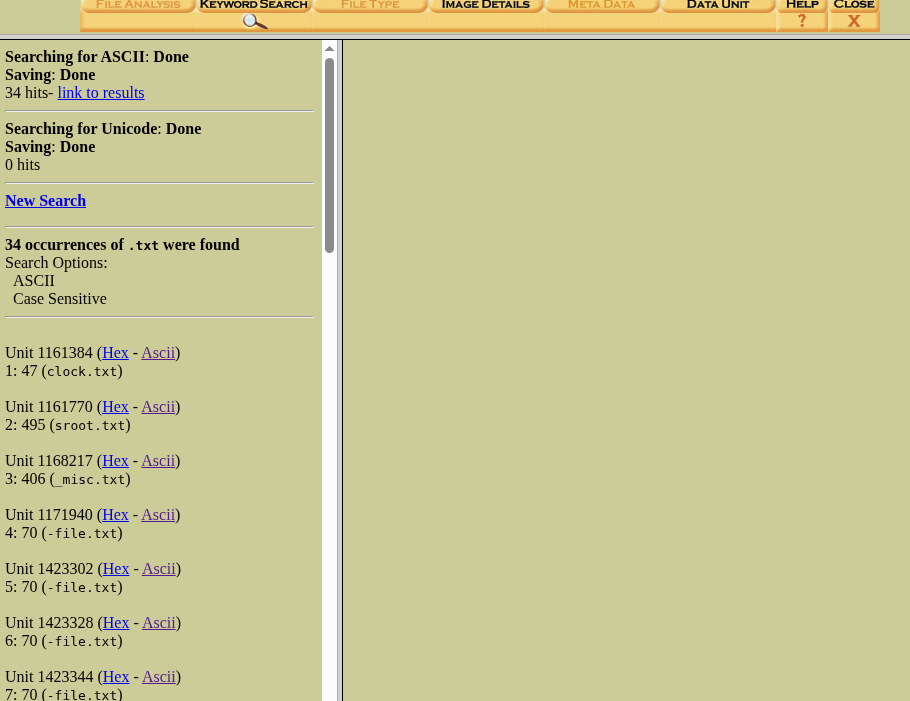
We can find few files named — clock.txt, sroot.txt etc., after clicking on Ascii and checking the contents, we can file useful info in the content of file.txt.

In Unit 1423344, we can find a string “pic”, which has potential to be a part of the solution flag.
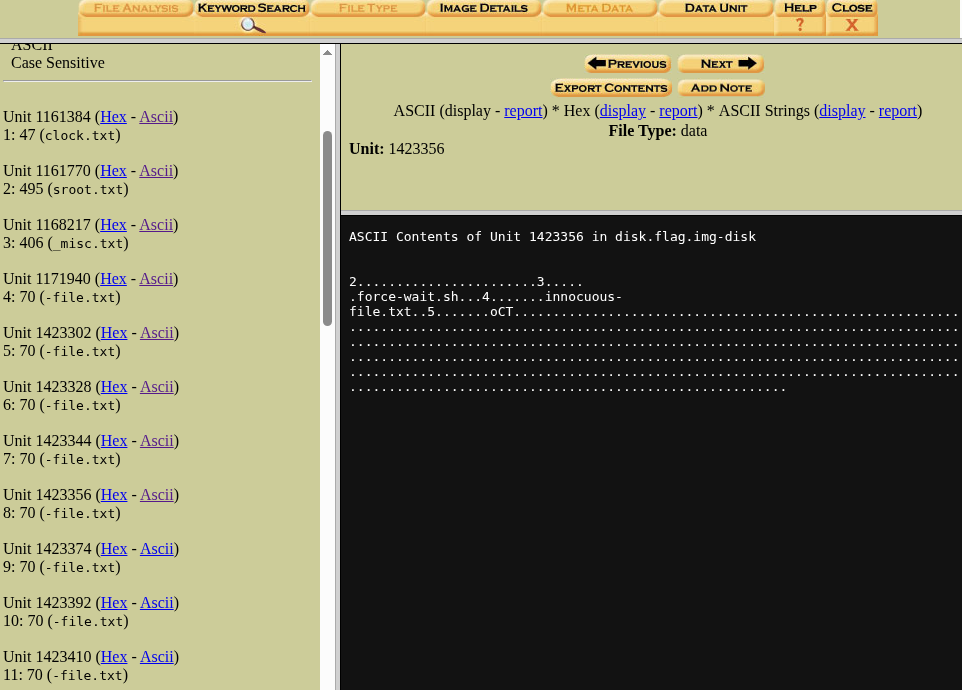
Now after checking the next unit, which is Unit 1423356, we can find a string “oCT”, combining it with the string found before gives us “picoCT”, so from this we can understand that the flag is divided into parts and divided sequentially into the Units of the partition.
After checking the rest of the partition, we can find that the final string of the flag (a flag ends with “}”) is in Unit 1423488. So the flag is divided into pieces from Unit 1423344 to Unit 1423488. Now combining the strings sequentially will give us the complete flag.
The flag is picoCTF(1_533_n4m35_XXXXXXXX}
So we have successfully solved a Disk Image Analysis challenge using Autopsy.
The End
So this is the beginner’s tutorial for Autopsy by me (CYB3R_BO1). To learn more about Autopsy you can search for YouTube videos, Blogs, Books etc.,
I am CYB3R_BO1, I explore AI Security, Web Security, Reverse Engineering and Forensics and many other things. Let’s connect and learn new concepts in the field of cybersecurity together, you can contact me through my social media profiles in the bottom-left of the menu.